A Personal Locator Beacon (PLB), is an emergency device that uses radio waves and GPS to send your location to emergency services in order to bring help and rescue. These devices should only be activated in the event of an emergency, and are very useful in remote areas without mobile reception.
NOTE: If you have phone reception you should call 000 in an emergency as two way communication with the authorities is better for both parties. Even if you have to run 10 minutes up a hill, communicating by phone is preferrable.
PLBs are not a get out of jail free card, depending on your location and how detailed your trip description is (you registered your trip right?), it may take a significant amount of time for emergency services to reach your location. Eg. midway through a canyon where the beacons are likely to have the weakest signal and poor locating ability. You should be prepared to be benighted and handle whatever situation is at hand.
Where can I get a PLB?
You can borrow PLBs for free with a refundable deposit from:
- The Club: UNSWOC has several PLBs you can borrow for a $50 deposit. You will need to register your trip online before your adventure.
- Blue Mountains: Blue Mountains Heritage Centre in Blackheath.
- Kosciuszko NP: Perisher, Khancoban and Tumut Visitor Centres, and the Snowy Region Visitor Centre in Jindabyne.
Those locations might change in the future, consult the national parks website to be sure.
If it's more convenient, you can commercially hire PLBs at several places, including Macpac for $15 a day.
Details on how to register a club PLB can be found here.
Club PLBs
The club has four PLB models; the GME Accusat MT610G, the KTI Safety Alert SA2G, the ACR RESQLink 400 and the ACR RESQLink View RLS. These PLBs are waterproof, float, and emit a signal for a minimum of 24 hours once activated. Instructions are also printed on each PLB.
When activating make sure the PLB has as clear as possible view of the sky (if possible move away from cliffs, go on top of ridges etc), is in an upright position (antenna pointed to the sky) and is not submerged in water. Keep activated until rescue arrives.
Report inadvertent activations to: Aus 1800 641 792, NZ: 0508 472 269, USA 1800 851 3051 and UK 01326 211 569
GME Accusat MT610G
PLB 13, 14, 17, 18
6 year warranty.
Activating: Unlatch and fully extend antenna. Press Red On/Off button for 2 seconds. Red AND strobe lights will flash simultaneously when beacon is activated.
Deactivating: Press and hold On/Off button for more than five seconds. Red AND green lights will flash together. Swing the antenna fully down and latch. Re-wrap antenna around groove. Audio and visual alerts should cease.
KTI Safety Alert SA2G
PLB 07, 08
10 year warranty.
Activating: Slide the red protective cover down to access the button, release the antenna on top and put in a vertical position. Press and hold the RED activation button until a green light starts flashing.
Deactivating: Press the blue test button until the strobe light stops flashing.
ResQLink™ 400 / ResQLink™ View RLS
PLB 09, 10, 19, 20 (400 series); PLB 15, 16 (RLS series)
Traditional PLBs are a one-way distress beacon. RLS enables some PLBs to receive a confirmation signal that the distress signal has been received by the satellite. Read more here.
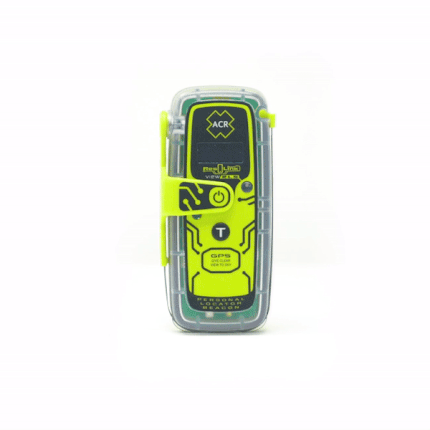
5 year warranty.
Activating: Unlatch antenna and rotate 90deg, Press Red ON/OFF button for 2 seconds.
Deactivating: Press Red ON/OFF button until it stops flashing.
Testing PLBs
The PLBs should be tested by the safety officer or another exec member. More than this will kill the batteries, please do not test them yourself. If you want them tested before a longer trip please co-ordinate with the safety officer.
Garmin inReach
The club has 2 Garmin inReach Mini's which can be organised for hire. Please contact the Head Gear Officer for details on hire and account setup.