After much indecision, at 9.30pm on Saturday night I found myself in Nick’s car on the way to the Blue Mountains after the NSW Rogaine. As such, I was a little under prepared…. Maria kindly lent me her gear; she was no longer able to attend due to injury 🙁
During the car journey I was starting to question my decision - getting to the mountains took much longer than expected! We were hoping to take Putty Road but had no idea where it was and had no suitable map or mobile signal so missed the turning! Instead, we took a long and scenic route via Wisemans ferry and then took a detour to Richmond as we need to stop for fuel. For anyone looking to travel between Yengo National Park and the Blue Mountains, I would not recommend this route. Finally, we arrived at 2.20am…so much for the 3 hour journey!
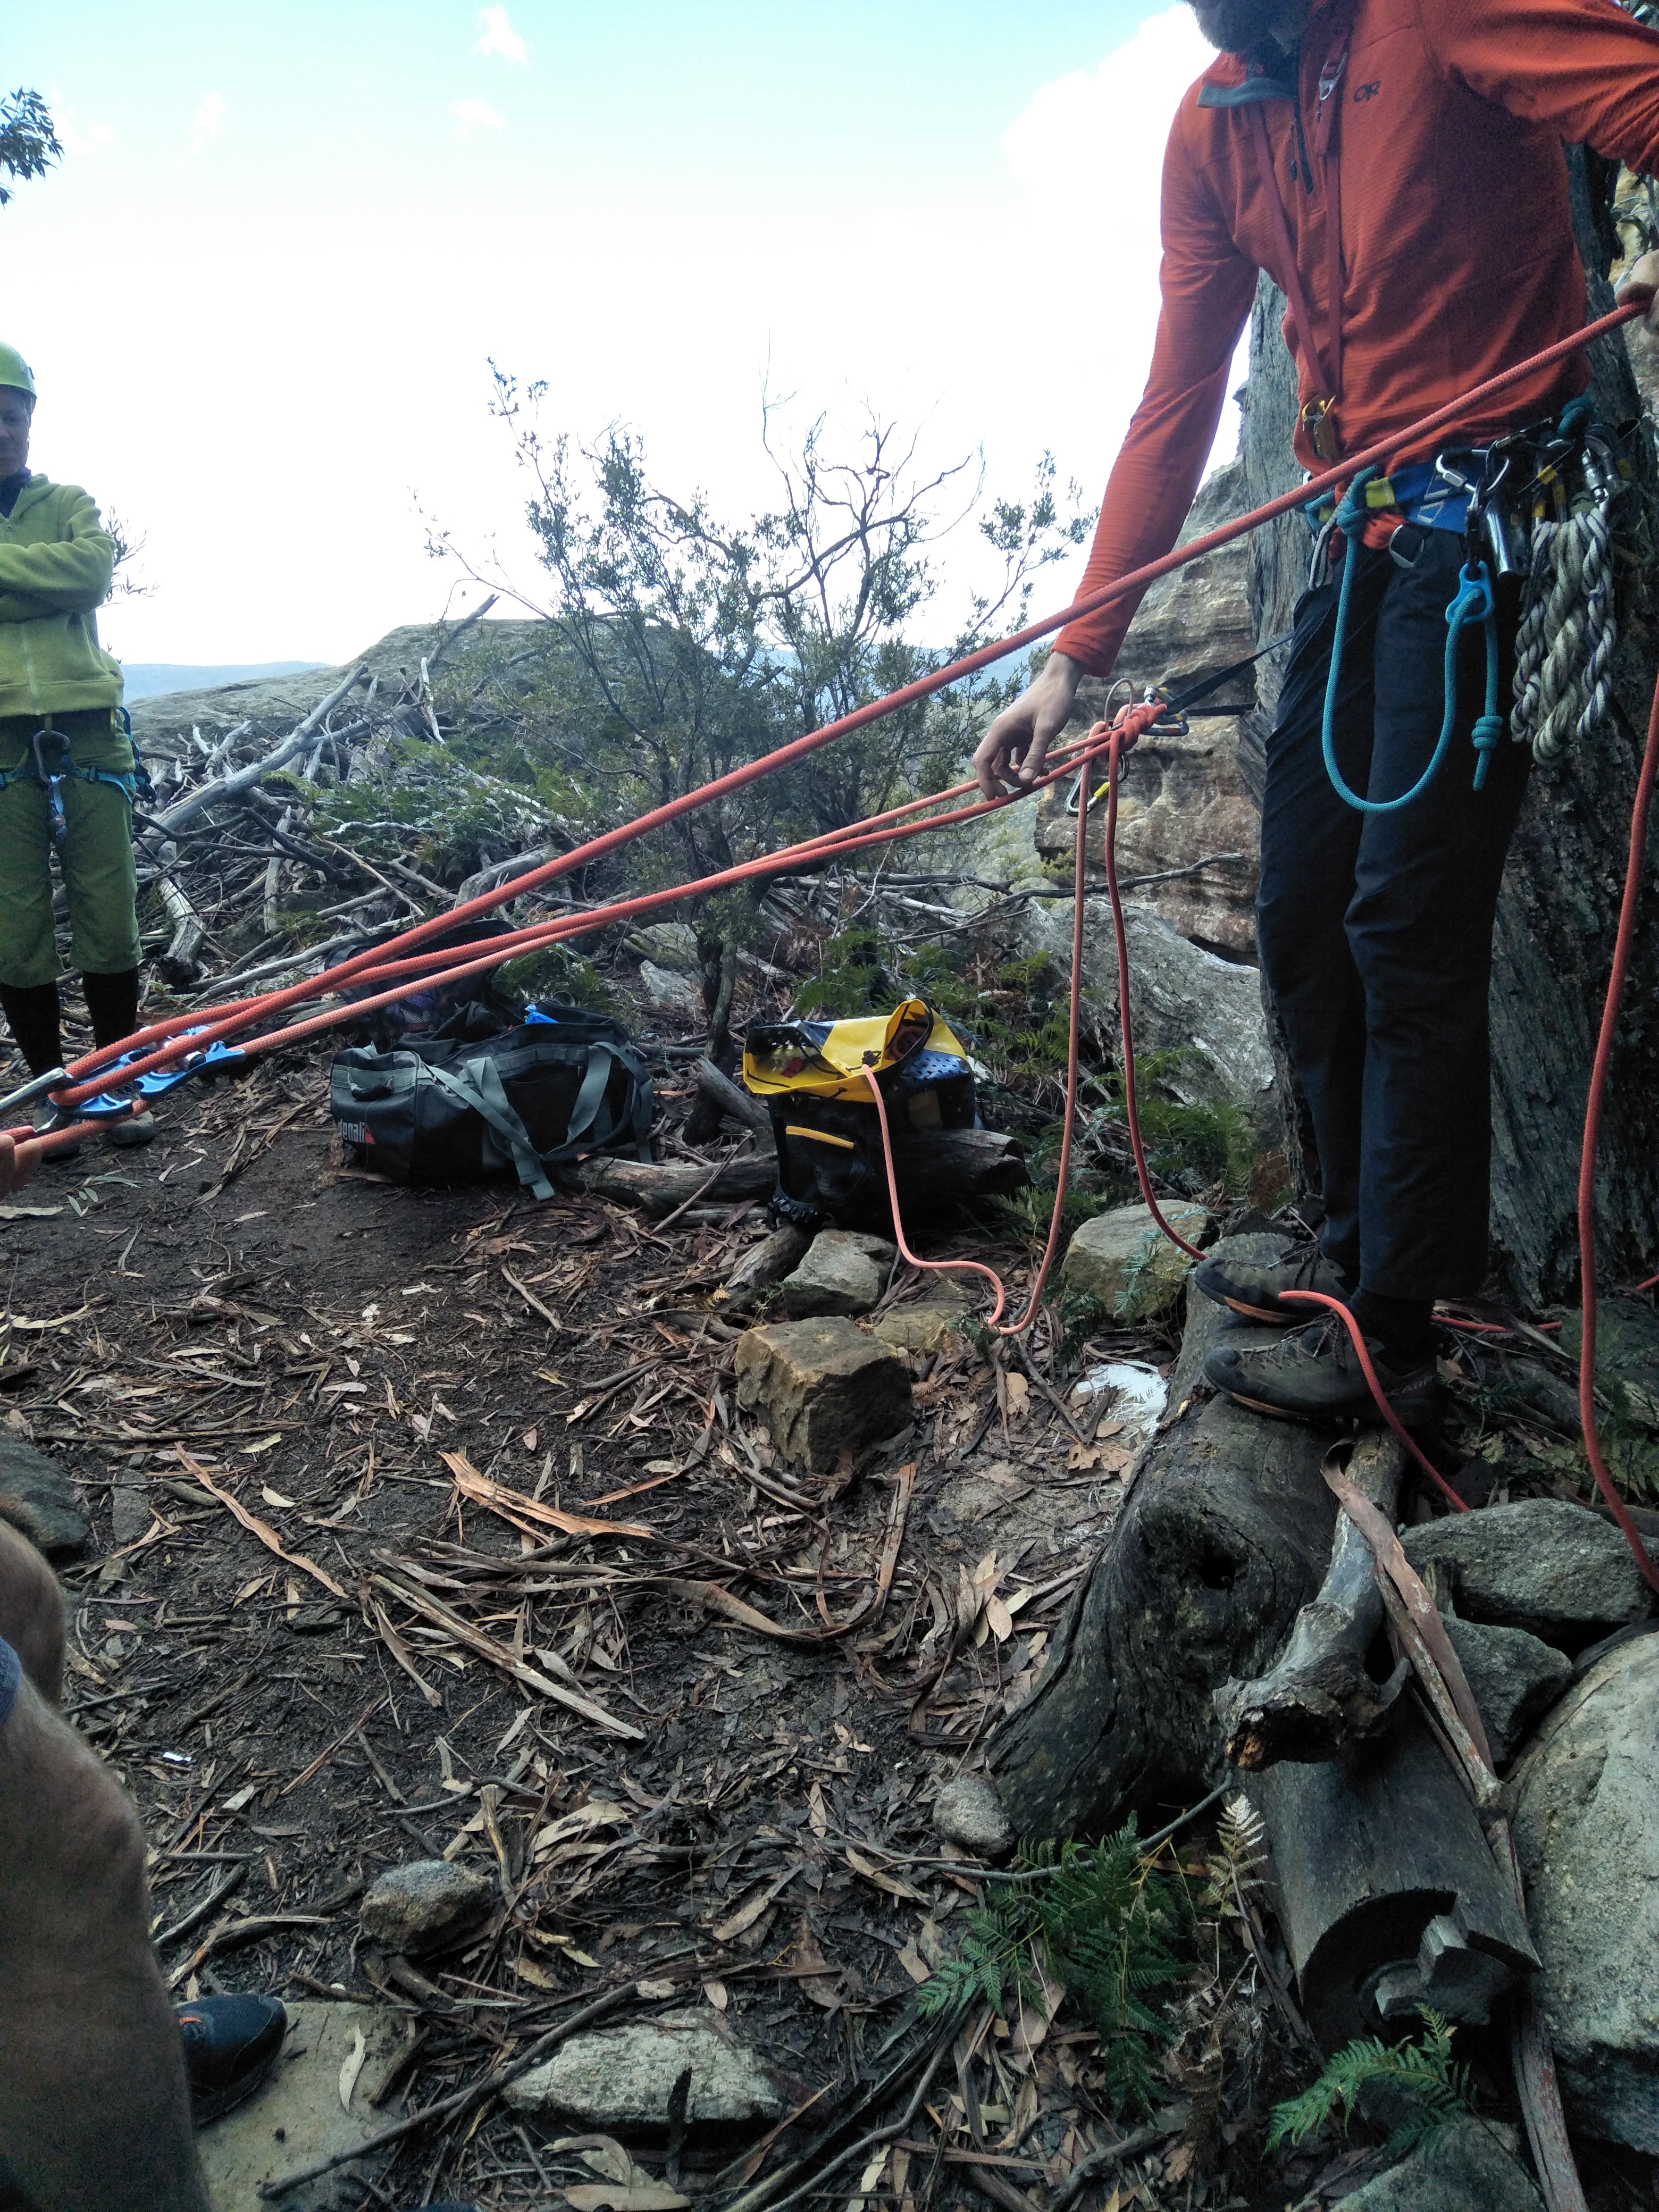
At a guess there were roughly 50 attendees at the workshop, so we split off into 3 different groups depending on what people wanted to go through. UNSWOC had 4 members attend the workshop: myself, Nick, Lisa and Patrick. Lisa/Patrick went through how to abseil and what to bring when canyoning, Nick practiced ascending a rope and passing a knot while my group primarily discussed releasable abseil systems.
Below is a summary of what I learnt! As you can see it was a very informative day and for sure an excellent decision to attend 😀 Chewy, the guide who had organised the day, was fantastic - extremely knowledgeable and helpful.
Rope size considerations
- An 11mm vs a 9mm rope has roughly 52% more volume! Especially in the blue mountains where there’s a lot of course iron stone, thin ropes may wear quickly.
- General rule of thumb for prussiks, use one that is 3mm smaller in diameter relative to the rope.
Friction
- Get to know your system (rope, abseil device, prusik)
- In the blue mountains devices where you can adjust on the go are not really necessary – they are designed for long abseils where there is a lot of rope drag at the start
- Sterling hollow block (alternative to prusik cord) – conforms to rope better and can grip on ropes with a small diameter down to 7mm
- Having the prusik below the abseil device makes it much easier to weight/unweight the prusik as required (doesn’t cinch up as easily) and for the prusik to lock up it needs to hold the same weight as your break strand in comparison to your whole body weight if the prusik is above the device[1].
Rope wear/abrasion considerations
If there’s a sharp edge, tie additional alpine butterfly knots after each abseiler to alter the section of rope that is getting worn out.
Bleeding the rope – by lowering a person from the anchor as they are abseiling no single point of the rope receives all the wear. It also has the advantage of being able to set length of the rope in the water to allow for abseiling off the end.
A free hanging rope is not necessarily best way to avoid rope abrasion, having more rope in contact with rock may prevent rope movement, particularly for jerky abseilers.
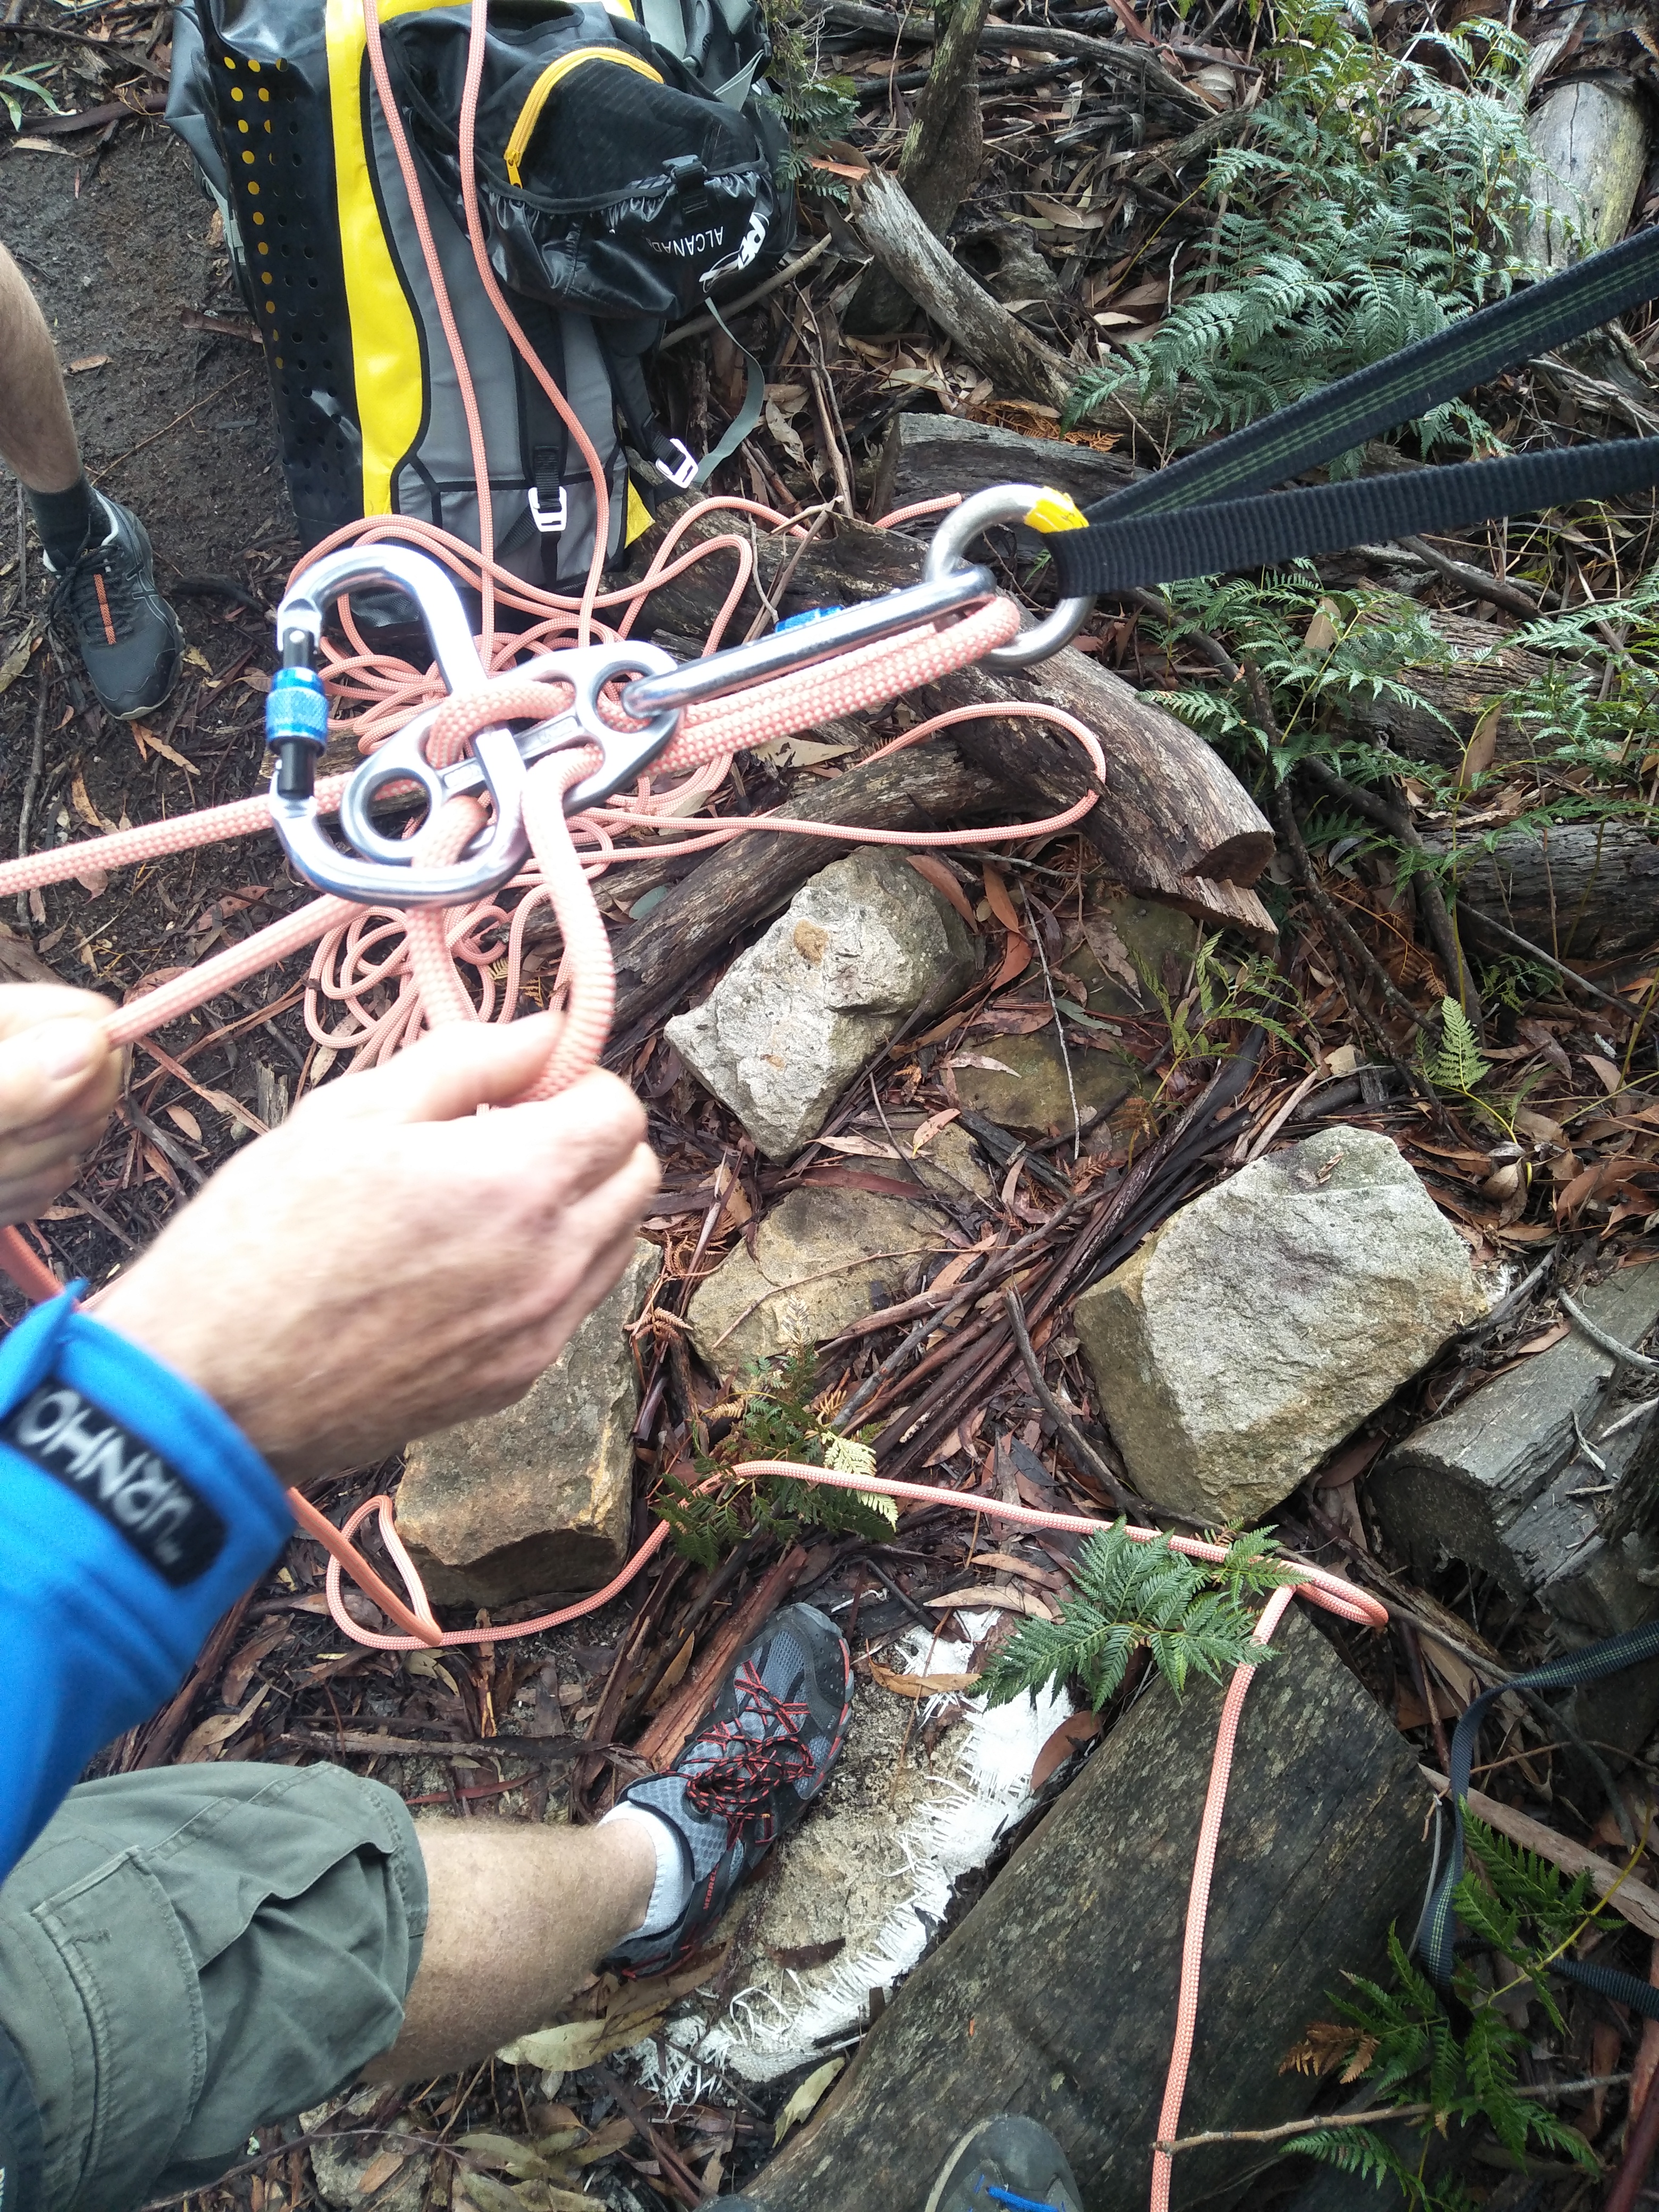
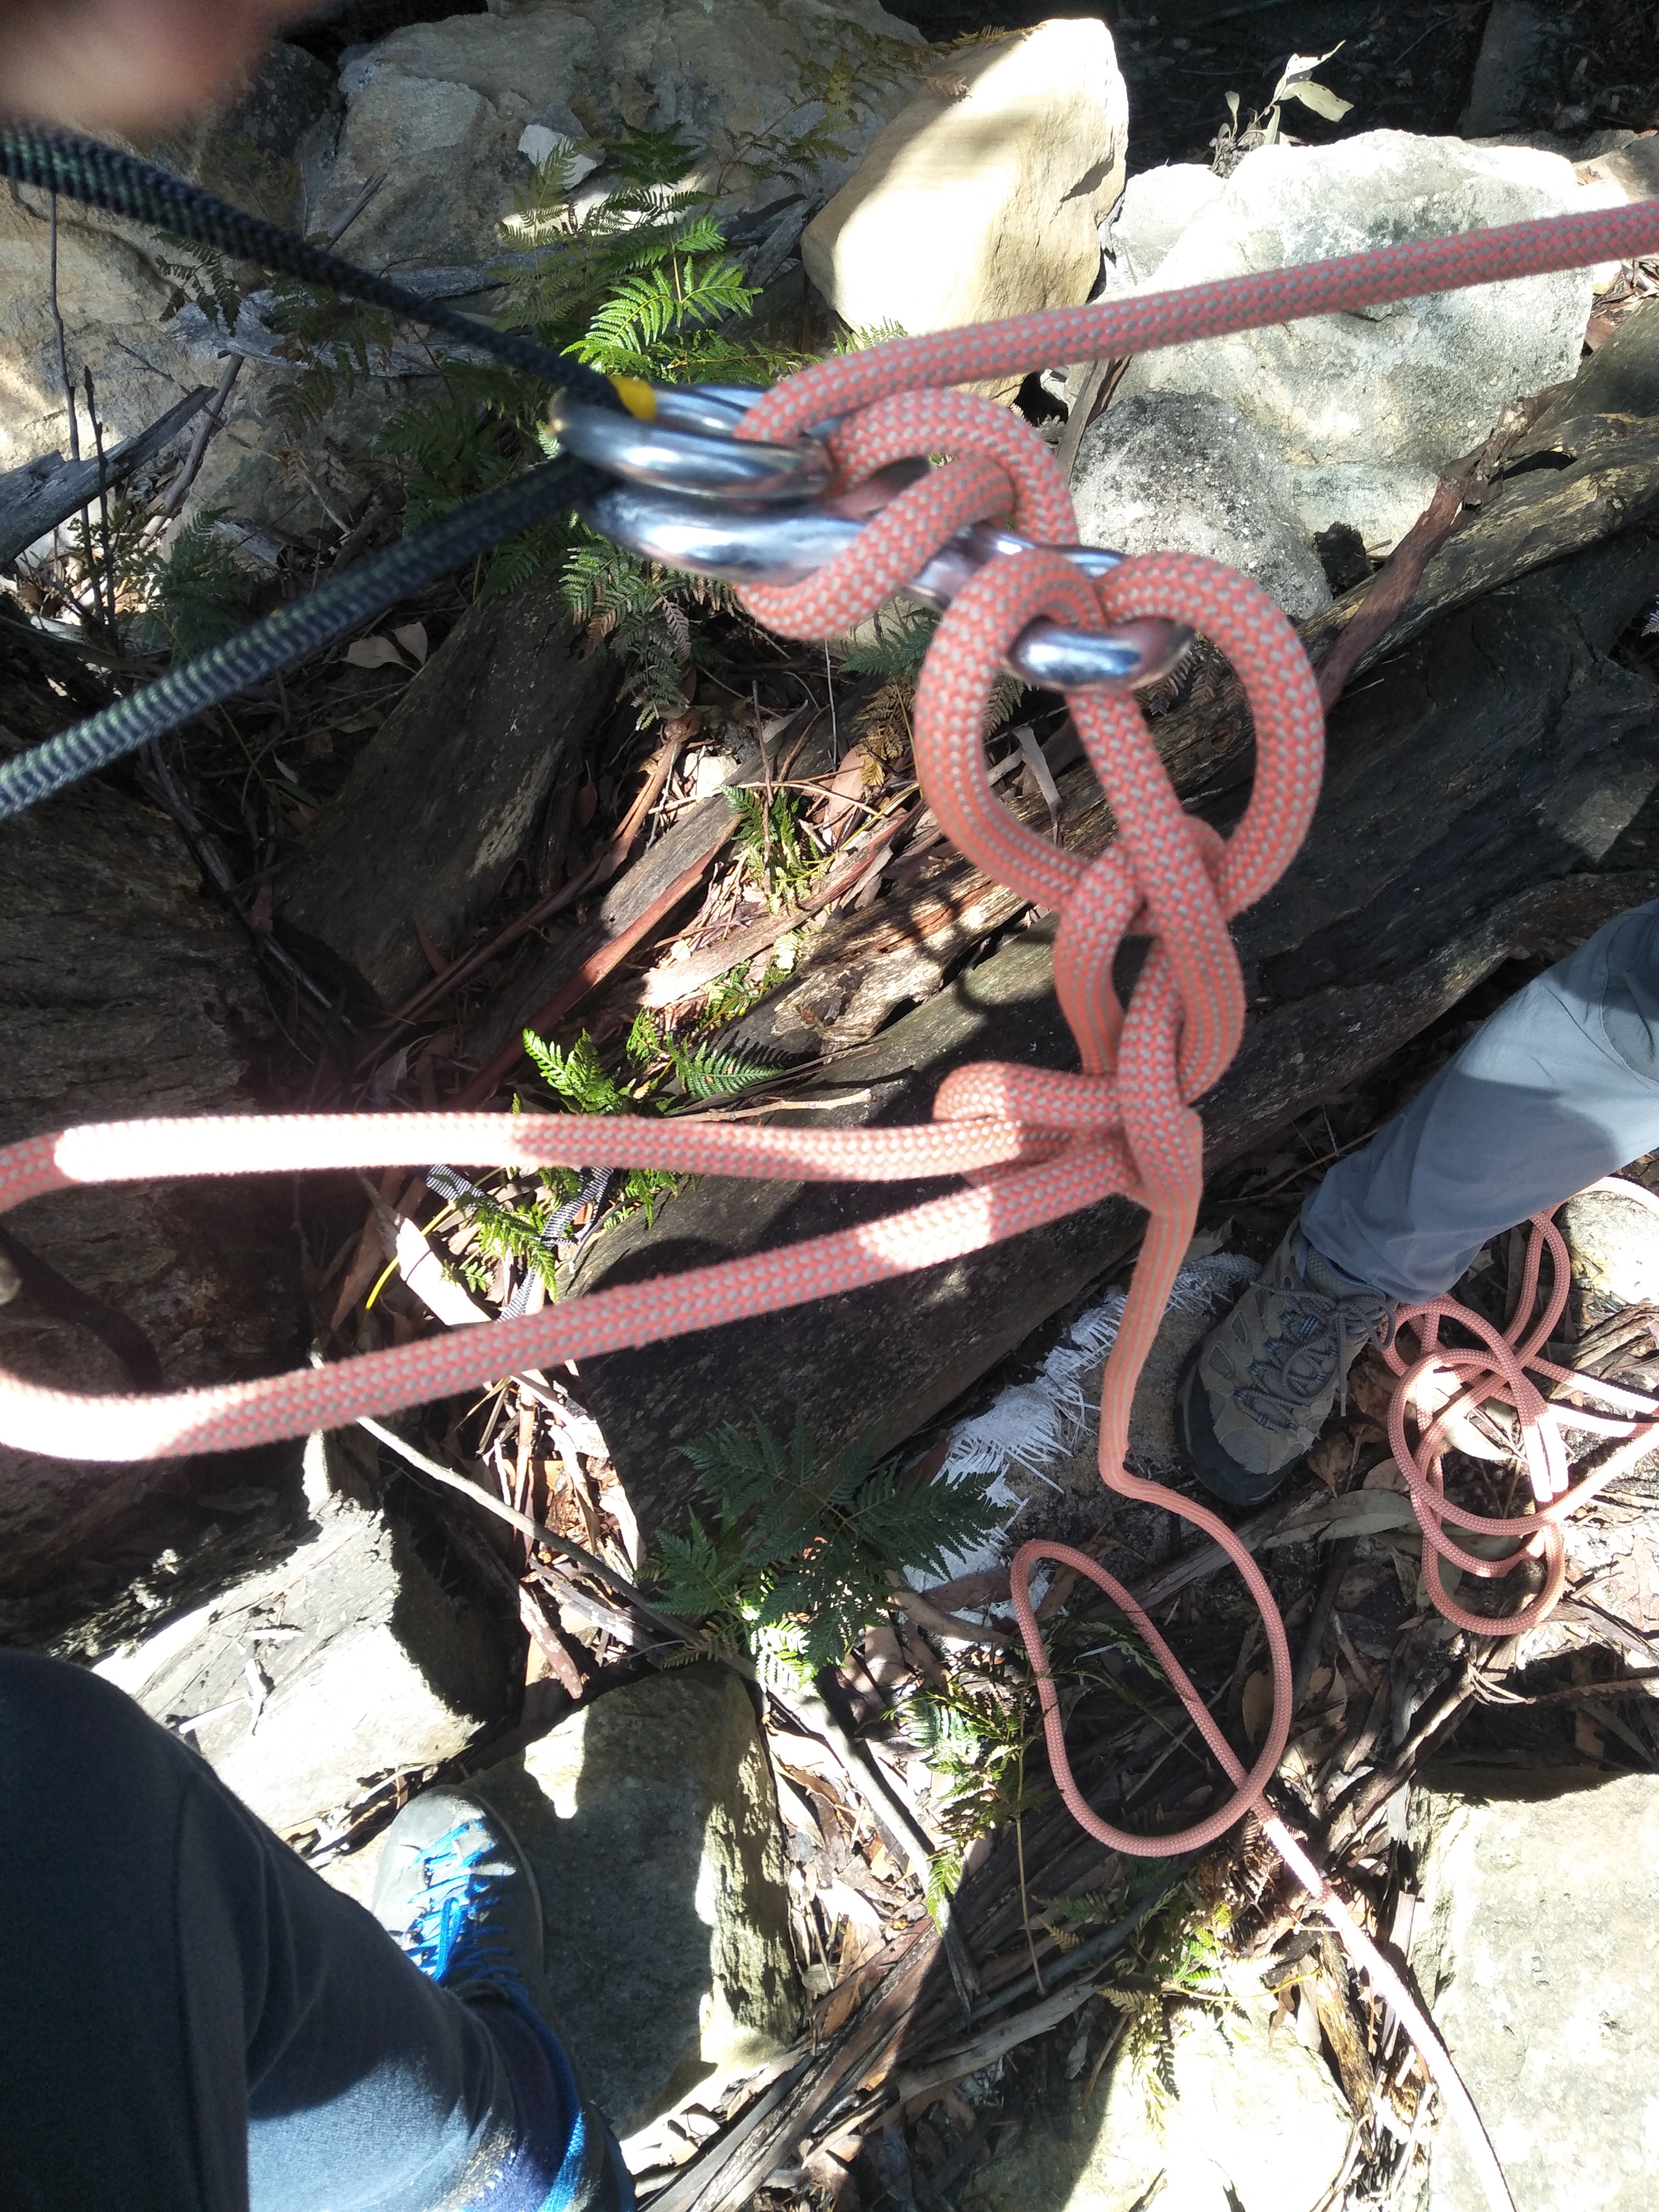
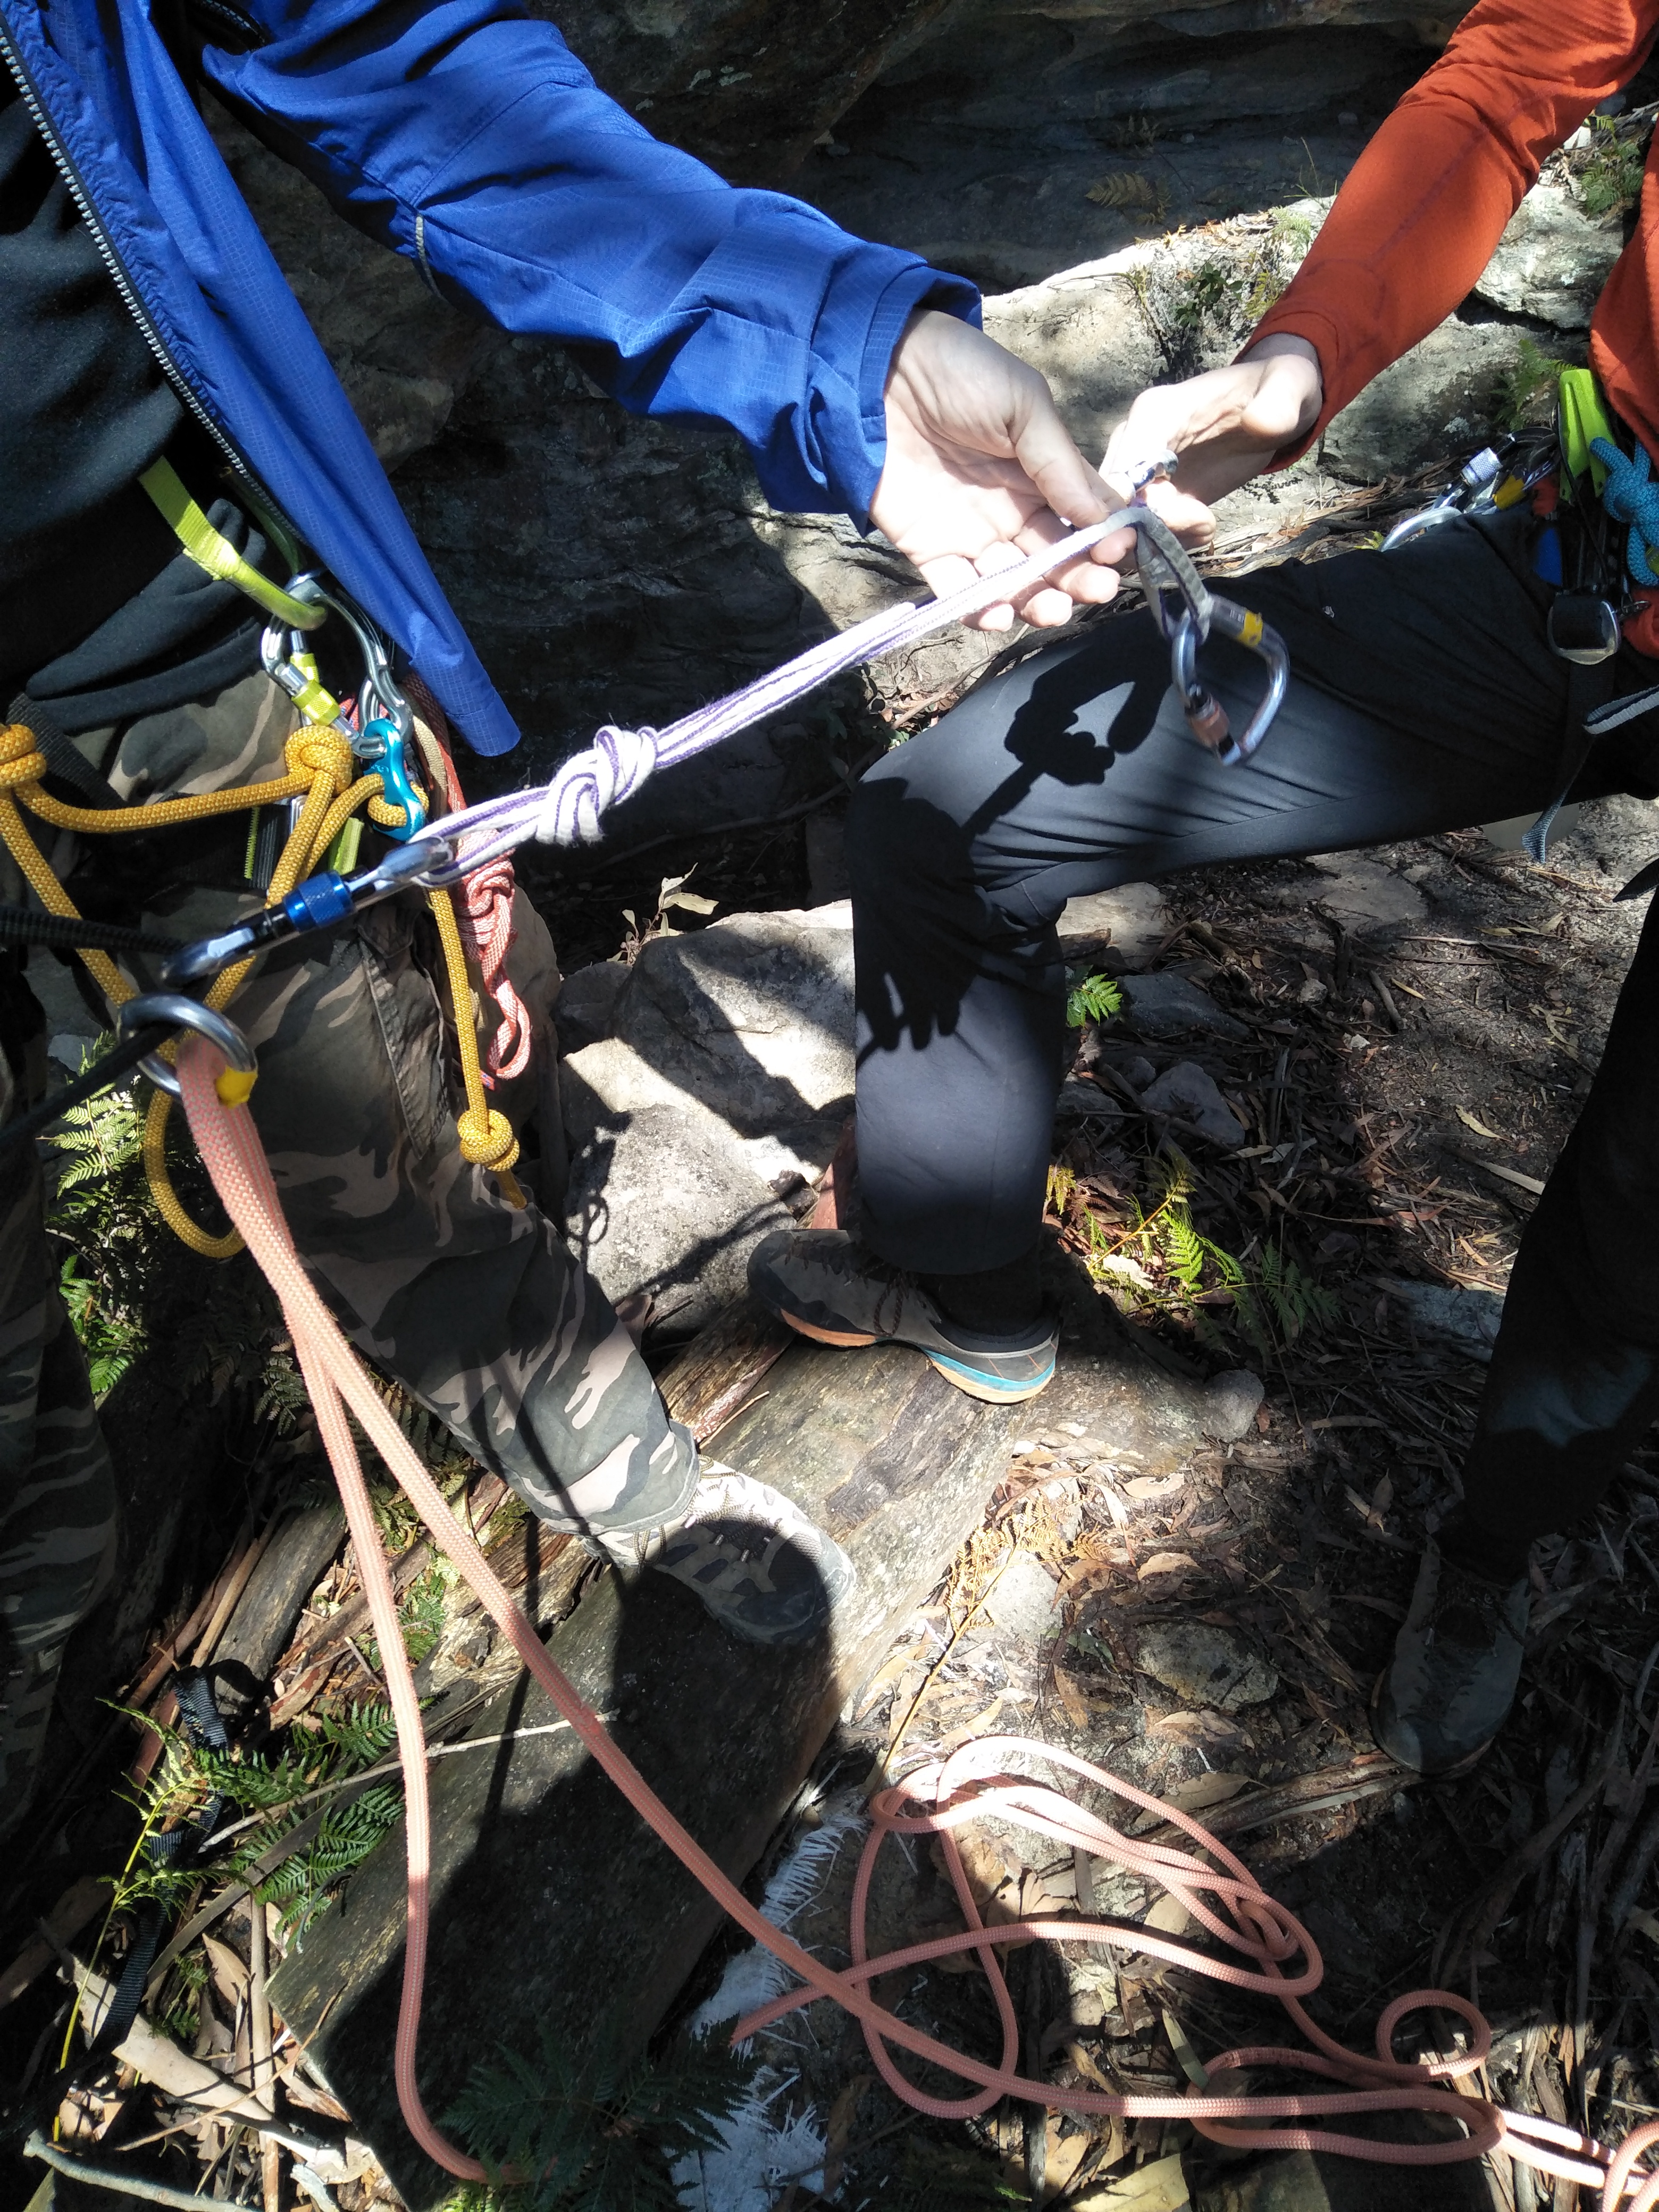
Releasable abseil systems
As a trip leader, a releasable setup gives you more control of the system. Very quick to set up so no excuses…
Gigi device: Very easy to use, isolates the strands for speedy abseiling. However, do need to buy the device...
Equivalent set up using guide ATC: Rope is threaded through the ATC device in the opposite way to how you would belay someone when climbing. If looking for more information, search for the jester method.
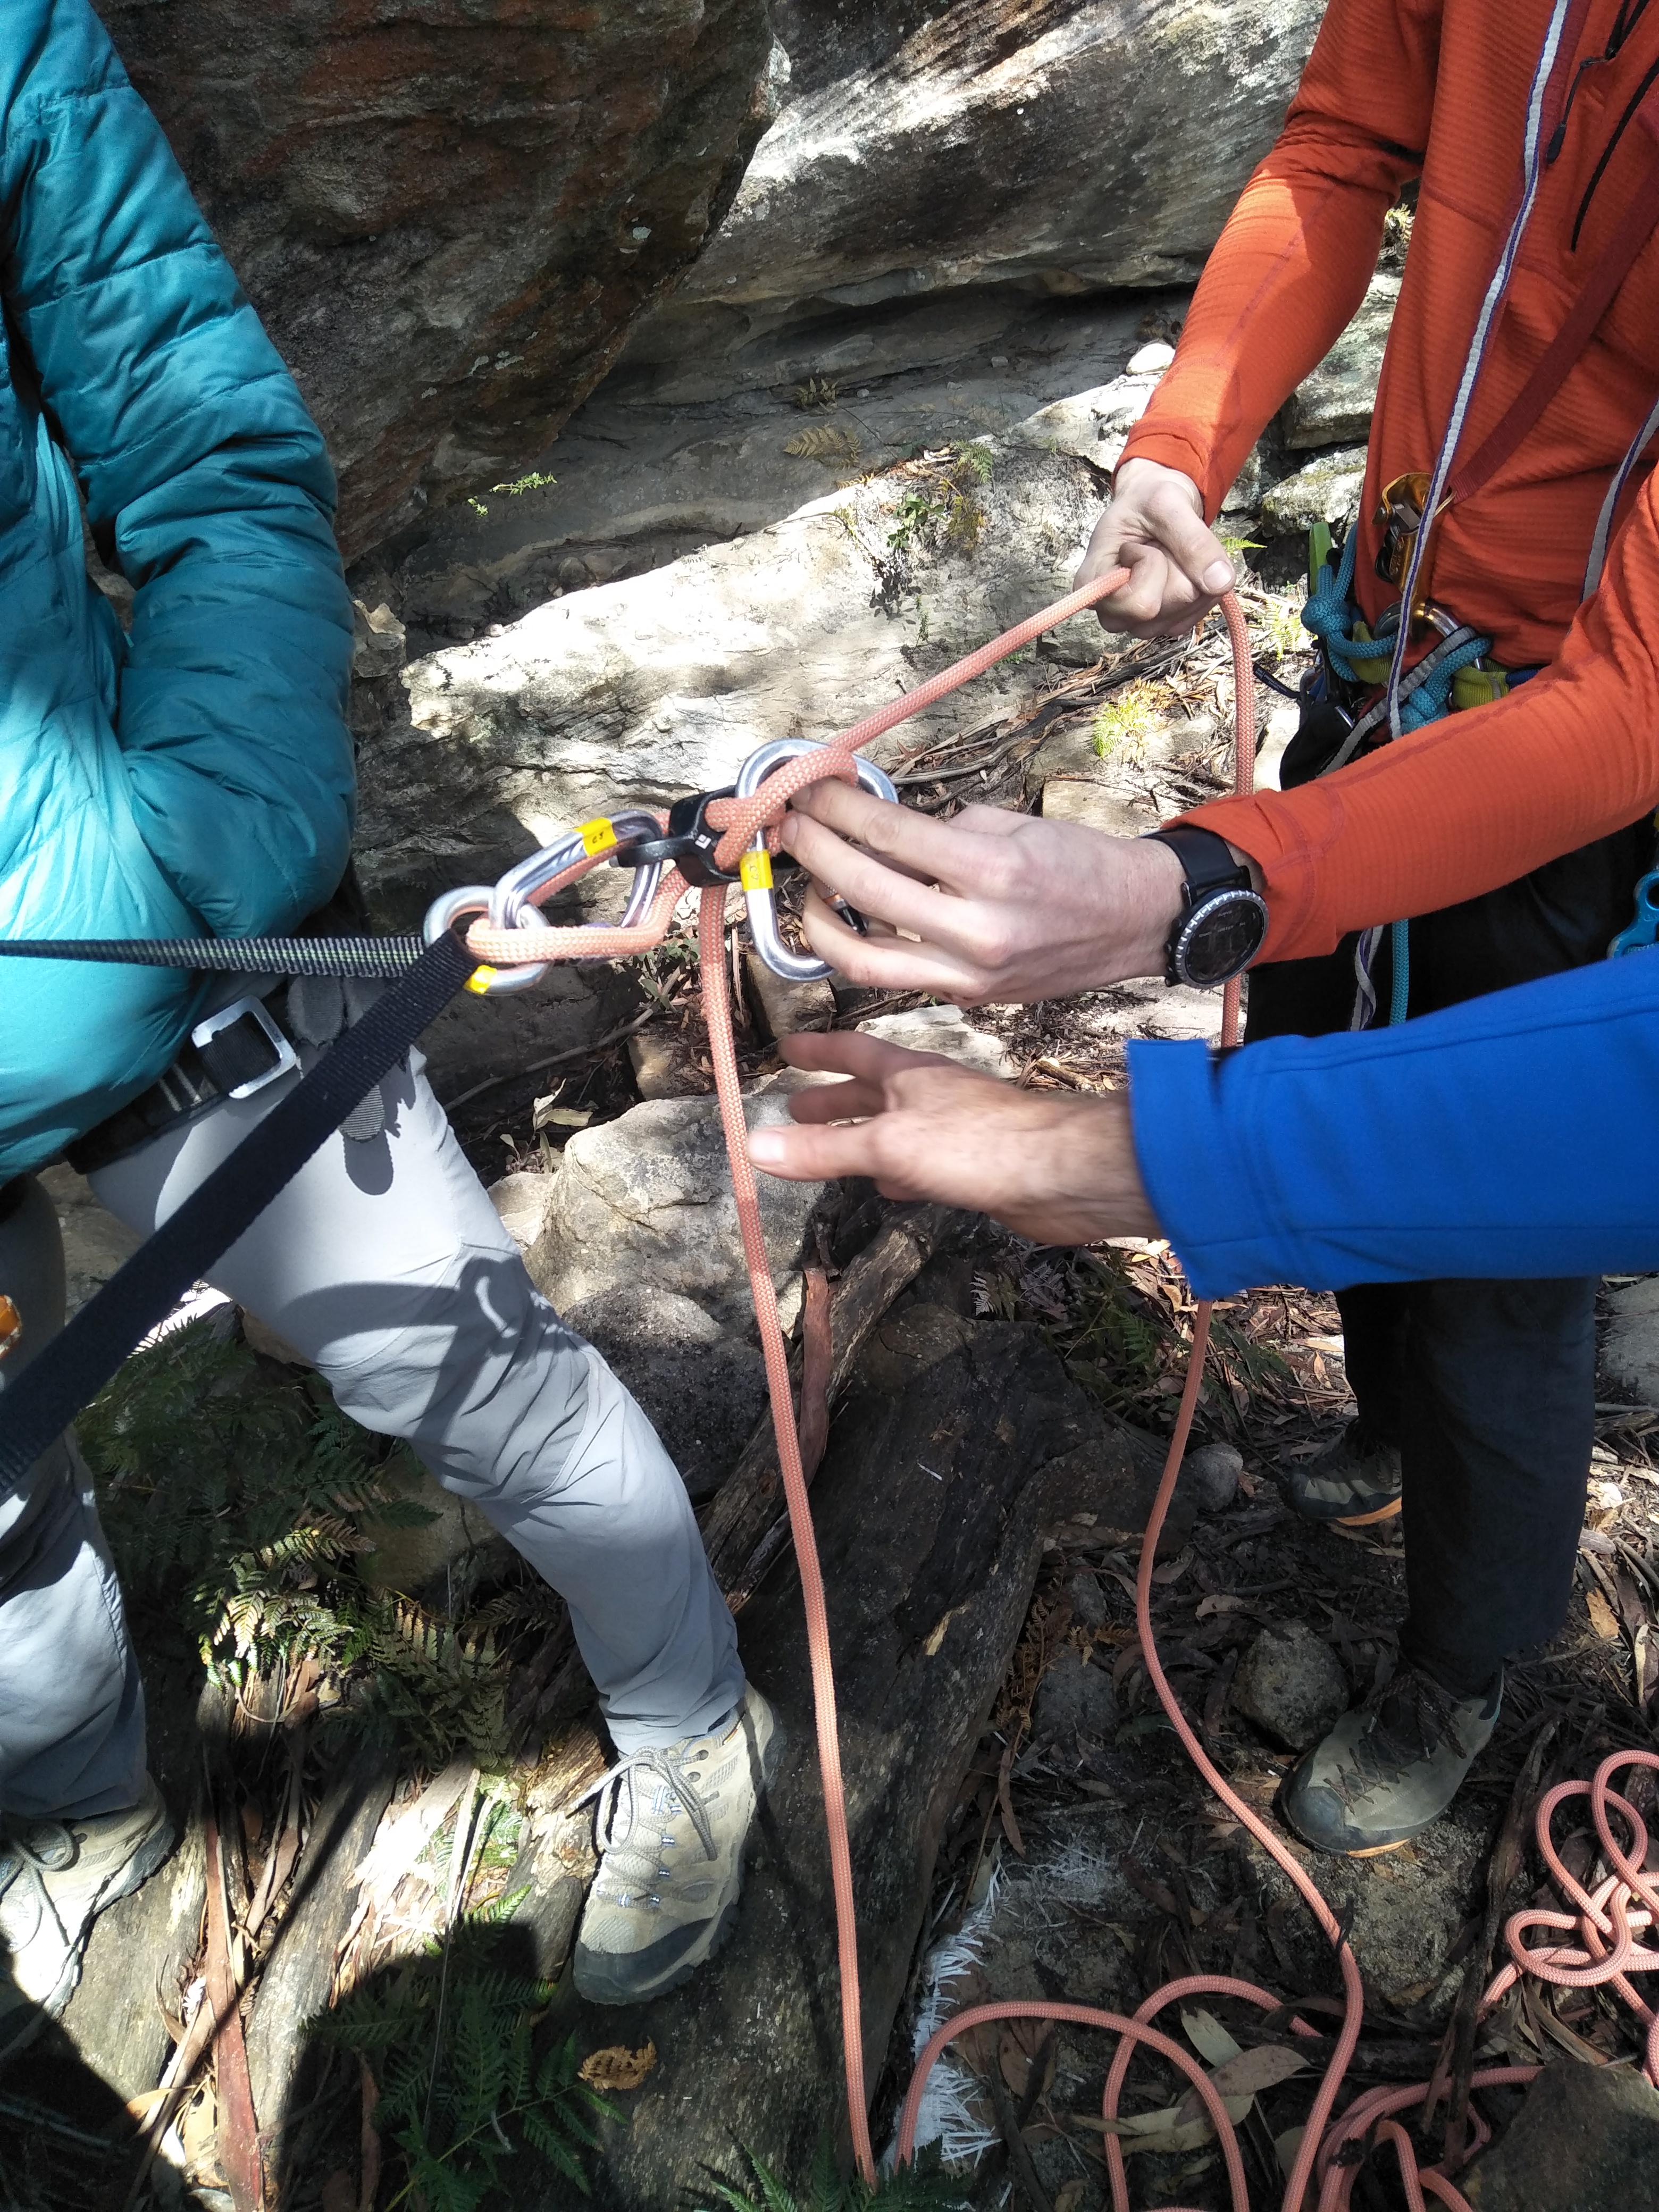
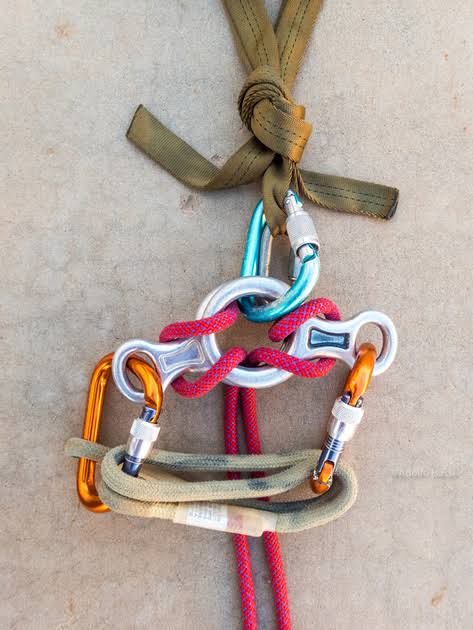
Figure 8 block: can be left in for the last person (but may cause issues on the pull down). Need to take care not to abseil down the wrong rope.
If two figure 8 devices are available, can use the ‘joker’ method – see diagram below from https://adolfoisassi.zenfolio.com/blog/2017/3/twin-rope-systems.
Munter hitch: requires only a locking carabiner. For neatness and to save rope, it is possible to tie the mule hitches and safety knot back onto the carabiner. The main disadvantage of this setup is that it does not isolate the strands. To get around this, it is possible to set up two separate munter systems.
Dropped rope for tricky overhang sections: A neat solution for abseils with a tricky start. Note, top belaying is also a good back up, but you must always be able to see the abseiler.
-Using a short section of rope, attach it to the anchor with a fig.8 on a bight/locking carabiner.
-Pass the rope through a locking carabiner on the abseiler’s harness
-Hold the brake strand and control their abseil through the 2:1 system
-Once they pass the tricky section, they will be able to abseil freely and then you can retrieve the rope to use with the next person
Other things I picked up:
A neat way of tying an alpine butterfly knot – happy to share!
Use of a canyoning bag – great for rope management.
Ascending a rope exerts at least double the force than even the dodgiest person abseiling.
For top belaying – tying the beginner in with a bowline is a good option because when untied no knots are left in the rope so less likely to get stuck.
Canyon Rescue
The day finished up with discussion about canyon safety and rescue with a paramedic from the Blue Mountains area. Some take home messages are given below.
Whether it’s your first canyon or 100th canyon, always pay attention and if you suspect somethings not quite right, say it!
Where possible always use mobile reception over setting off a PLB. When out canyoning, take note of where you find mobile signal for future reference. Call 000 and ask for police, give as much info as possible (will be asked for coordinates and phone number). A useful mobile app which provides coordinates is called Emergency+.
If you have to sit out in a canyon – stay warm! This is the first thing the paramedics will do when they arrive - start a fire, set up an emergency shelter, boil water for warmth. Make sure the whole group as well as the injured person stays warm! If you’re not moving you will get cold very quickly.
A single emergency blanket will do very little so at a minimum everyone in the group should be carrying at least one. Additional clothes e.g. dry thermals/down jacket/beanies are more useful.
A lot of heat will be lost through contact with the ground so consider using emergency blankets as insulating from the ground.
Make yourself visible to the helicopter.
If you do light a fire, make sure it has been put out before the helicopter approaches – there have been incidents where the down draft of a rescue helicopter has started a bush fire.
If you’re not the injured one, be prepared to walk out, they prefer to winch as little as possible – fewer things to go wrong.
Phew, made it! Thanks for reading and if you have any alternative opinions/experiences/feedback on any of these topics please let me know – more than happy to discuss!
Overall it was a great day, being exposed to different techniques and people with different backgrounds was extremely valuable and thought provoking.